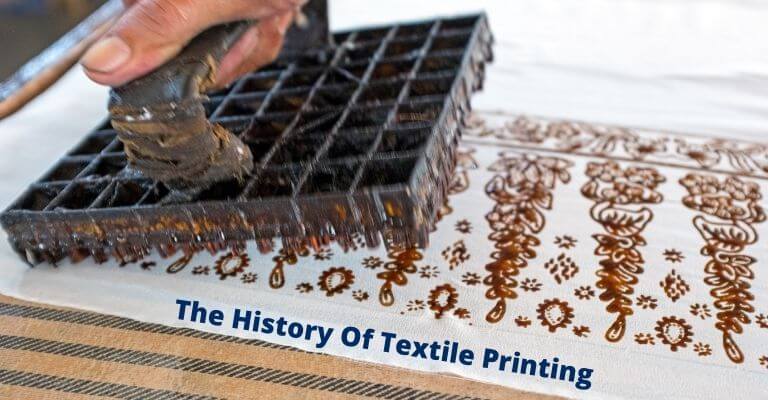
Screen burning for screen printing is a crafty technique. Using some easy textile materials and equipment will be able to put clearly and help you to secure your image on the surface screen. Types of skin printing have been done for buyer requirements or customized reasons.
Prepare your screen for burn condition with degradation, wash with water and dry perfectly. Place your designed printed emulsion and then fix the area and unwanted surface with tape. The burn will affect the silkscreen so that, while printing, you can have the exact ink through the design gap and print your design.
If you are thinking of burning your skin print you are in the right hand. In today’s article, I will show you a step-by-step process for burning screens for printing.

How to burn a screen for screen printing in easy 7 steps
You can make this screen burning process on a silkscreen, fiber, or fabric screen.
Things you will need:
- Photo emulsion paint
- Plastic tape
- Dark polybag or compact chamber
- Squeegee
- Bulb with 150 watts
- Paper cover
- Degradation
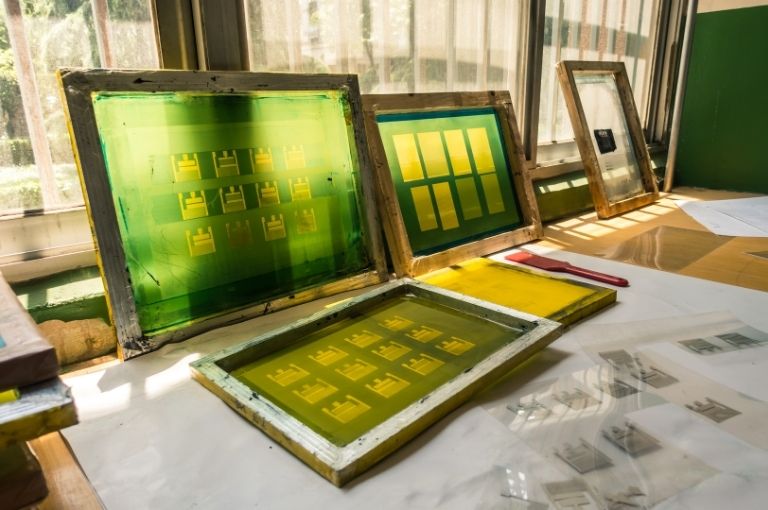
- Silkscreen up to 120 mesh pre-stretch
Burning of the screen directly gives an impact on the emulsion, Again, if your mesh count is high, it will also give a good printing quality over burning.
The steps are given below.
1st Step – Degradation of your screen
First of all, this is necessary to use chemicals to be great for your screen. Degradation chemicals such as emulsion batch can remove the previous emulsion impact or surface from your screen.
To burn your screen for printing this is necessary to start with a fresh and without any impact emulsion screen. You should use warm water to degrade your screen until it’s clean. You can take help from a spray bottle.
Put the degradation solution chemicals into a spray bottle and spray over the screen for faster application. Besides coating degradations, your mesh during cleaning is all-important whenever you are spraying on your mesh surface at this time you should have to do scrub as well this will remove the emulsion simultaneously.
2nd Step – Prepare your printing design
Take your photo emotion and quote your desire on the self-screen that you are just prepared for degradation. For some spaces from screen printing, you don’t want to put any coloration or burning impact over it.
So, you should cover that area with tape. You should coat it with your silkscreen and squeeze the printing design onto the mess surface perfectly.
You have to know about your painting garments because the printing coating and the emulsion photos you are going to use just have to match your design.
3rd Step – Place your screen in a dark place
Now place your screen in a dark room or a dark place light does not come directly on the screen.

This is important because it will take the rest and your emulsion will get dry in the dark so that any lighting impact is not directly put on your screen surface.
Leave this condition of your screen in a dark room or a dark poly bag for a couple of hours. You can also use a paper cover over the screen not to touch the surface.
4th Step – Design transparency
Now it is time to transfer your design to the screen for transparency. carefully do that because this design will give print on your design.
If necessary, use his tape to make the design visual. The burning screen will put a direct impact on those dry emulsions and screen.
5th Step – Burn your screen
After drawing the emulsion, you have to know the instructions from the emulsion bottle or the products you are using. Now it’s time to burn your screen. On this occasion, you have to burn your screen with light heat take a bulb with 150 to 160 watts and put this bulb near to your screen.
Leave your screen for the next 40 to 60 minutes with that condition. At this position, transparency is also admired in your screen design.
Cautions: Avoid sodium light. Use a normal white photon bulb and not burn for a long time in the moisture area. Make sure your screen is dry enough before placing it for the light burn.
6th Step – Clean your screen
You have to clean your screen with chill water. It is necessary to clean the over the surface of burning that has been done for lust 42 60 minutes.
This is important because the clear transparent and design have to print. Place your screen on a flat surface and then wash clean and dry it again. You should not shake or make it pressure because it will hamper the burning parts of the screen.
7th Step – Print your design
After doing all of those 6 steps your printing screen is ready for print. Take your favorite bags, fabrics, or clothes under the screen, and then place this screen on a flat surface with even pressure.
For eco-friendly screen printing, I would suggest you use water-based ink. But if it is about sack or any heavy material to print then you can use plastic solve ink anyways after that spread your ink over the screen with a squeeze and then make it left right up and down to print.
Make sure your screen is not movable and whenever you are doing printing those burning place emotions real hold the excessive ink.

The rest of the ink is placed in the gap of the design this way you can print your design with the burning screen.
Skin printing with artwork is very popular all around the world. There have so many ways to do printing as a customized requirement or industrial requirement.
So, depending on your purpose, you can choose any of them. On the other hand, if you take the right step with the right methods one after one there has little chance of getting mistakes in production.
Final Words
Not only about this burning process for silk screen printing but also for any kind of printing you have to clear your workstation after work. The environment is very important for production. Your workplace and your work environment have to be friendly for your work.
On the other hand, whenever you are going to take exceptional steps like burning with light for screen printing you have to take some extra precautions. Commercially different kinds of unique designs and paintings can buy burning screens. This will help you to move another feature of printing.
Basically, after burning to print if you want to do another emulsion and another design you have to do the same process as degradation of your photo emulsion.
Hope this article was beneficial for you.
Read More Guide Tutorial Articles On:
T-Shirt Screen Printing Materials & Checklist For Beginners